Nothing can be more aggravating (in regards to cleanliness) then to have your beautiful bathroom tile floor and kitchen backsplash to look grimy filled with dirt, food stains, and mildew. There is only so much one can do when using household products but for the rest, creativity will be your friend to get your tile and backsplash looking fresh and new again.
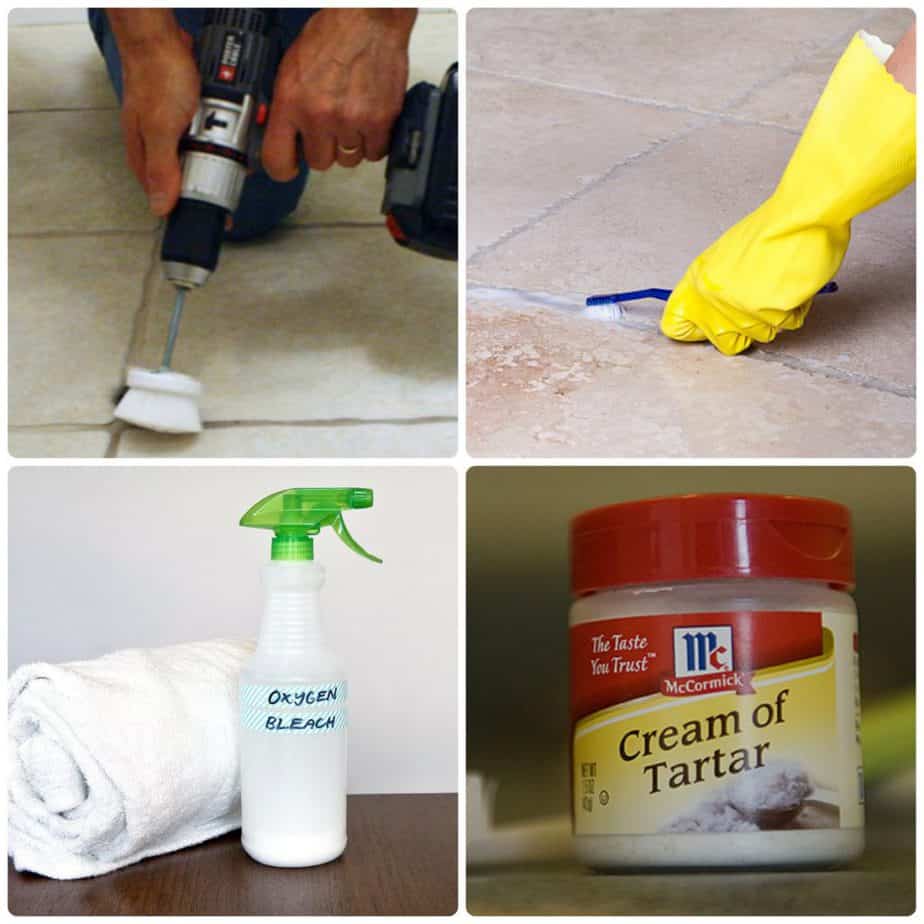
…Let’s check out 17 ways to clean tile grout, shall we?
#1 Give Grout that Heave Ho With Some Vinegar and Baking Soda
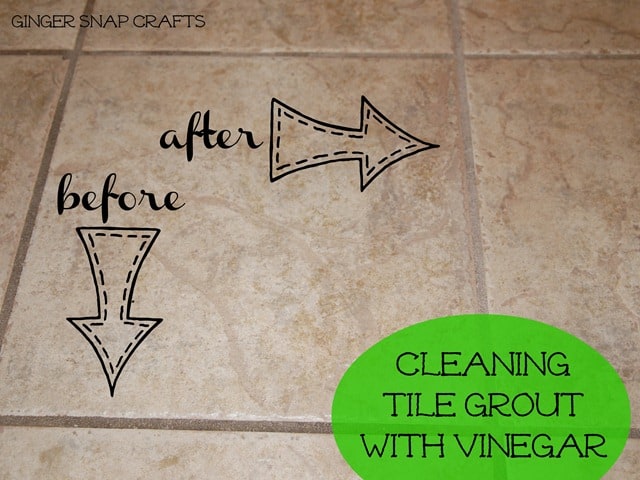
(Source: gingersnapcrafts.com)
Here is an excellent tip to cleaning out tile grout without the use of harsh chemicals. Take some baking soda and pixie dust it onto your grout and make sure it covers the grout entirely – use your fingers to line up the baking soda into the cracks. Next, get yourself some vinegar and pour it into a spray bottle.
After giving it a good few minutes for the concoction to run its natural course grab your grout brush and brush off the dirt debris that the mix accumulated on its own before allowing the dirt residue to settle back into the grout.
You will see a muddy appearance because of the dirt + solution mix combo. Do make sure to have a bowl of water to rinse off the head of your grout brush to keep it clean so that you’re not continuously rubbing the dirt back in the floor tile. Don’t add too much water to the tile area because you want it to keep that gritty appearance to make an easier cleaning experience.
After you’ve scrubbed the tile wipe it down good with a washcloth or paper towels you will then wipe any additional baking soda remnants should be mopped up to avoid having a baking soda residue – this will totally defeat the purpose of the grout clean up process.
Awesome – no muss no fuss and no harsh chemicals used and with barely any muscle involved.
#2 Make Use of a Strong Brush To Scrub Grout Lines
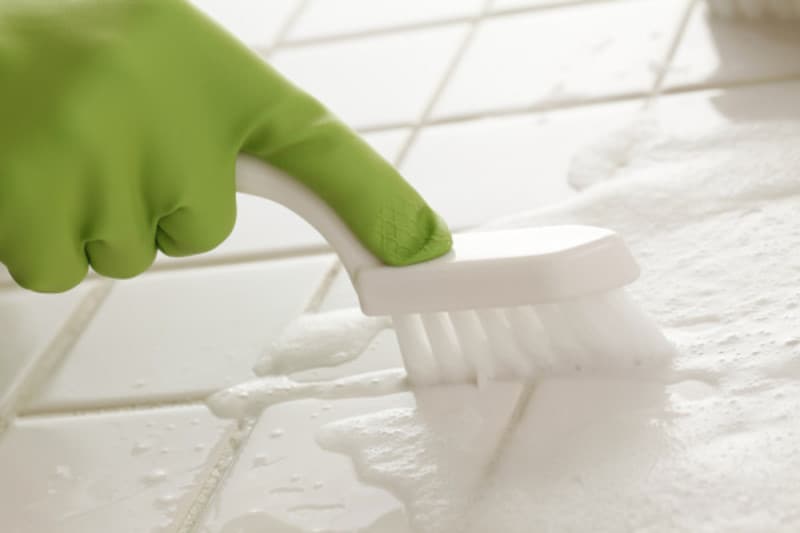
(Source: pro.com)
This step is so easy, and it only requires three things that most households carry. You will need and a scrub brush, bleach, and baking soda.
Get a medium sized mixing bowl, and combine the bleach and baking soda together to form a paste that resembles paper mache paste. Measurements will be 3/4 cup of baking soda, 1/4 cup of bleach, and stir up with the scrub brush.
Line up the mixture onto the lines of the grout and let it settle in for 5 to 10 minutes.
After allowing for the necessary 5-10 minutes, you will see that the bleach did most of the heavy duty labor for you, simply grab your toothbrush and brush in circular motions. After another 5-10 minutes or so rinse out the tile with a soaking washcloth to rid the cleaner debris – or a handheld shower head.
While your tile is wet, it will still have a darker appearance, no worries, as soon as the tile dries it will look fabalistic! 😉
#3 Use Grout Restore
(Source: pinterest.com)
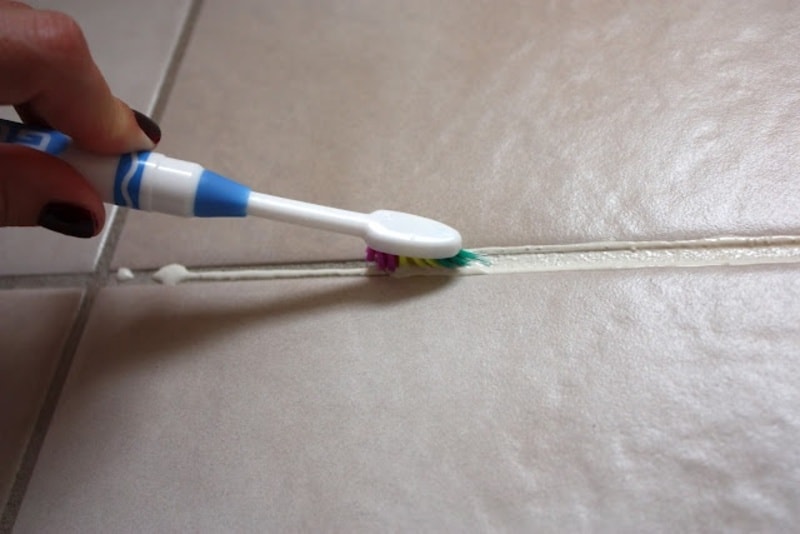
Here we have an affordable grout restore solution that will not cost you any more than $10 bucks. The secret arsenal is polyblend and an old toothbrush. The exact name for the grout restore is polyblend grout renew. There are a variety of colors to choose from but to get that crisp, fresh look we chose the snow white palette. It cost $10 bucks for the polyblend and a recycle toothbrush to get this project started right. The polyblend restore also has a sealer property mixed in that will keep dirt and liquids from making a home on your clean painted tile.
The first step is to squeeze a small amount of the polyblend onto the tip of your toothbrush like you’re going to brush your teeth. Then “paint” the tile line ensuring that every bit of grout is covered up. Once the grout paint had time to settle and dry, you will want to grab an on-hand rag or paper towel to remove the excess grout paint.
This won’t be a quick process as you will need to do each tile at a time and depending on the size of the area you’re working with you could end up spending an entire afternoon on this project, but the result will be great.
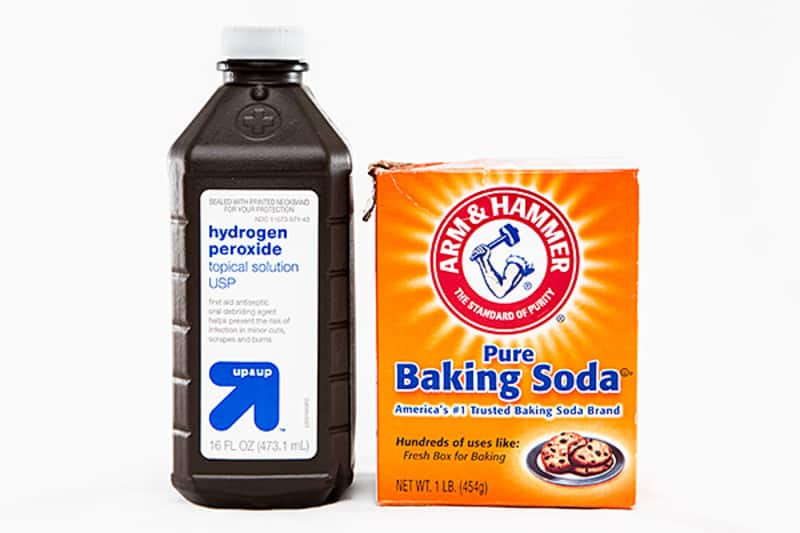
#4 De-Grime that Nasty Grout With Hydrogen Peroxide & Baking Soda
(Source: greenideareviews.com)
Want a quick, affordable de-grime tip? Hydrogen peroxide and baking soda. That is all she wrote. Everyone needs to have a bottle of peroxide in their home because it is so versatile in the many uses. Combine 50 percent baking soda with 50% peroxide and mix it up with an old toothbrush. Coat the grout with the concoction and brush it into the surface. Wait all about thirty minutes and rinse.
#5 Five Methods for Cleaning Grout Effectively
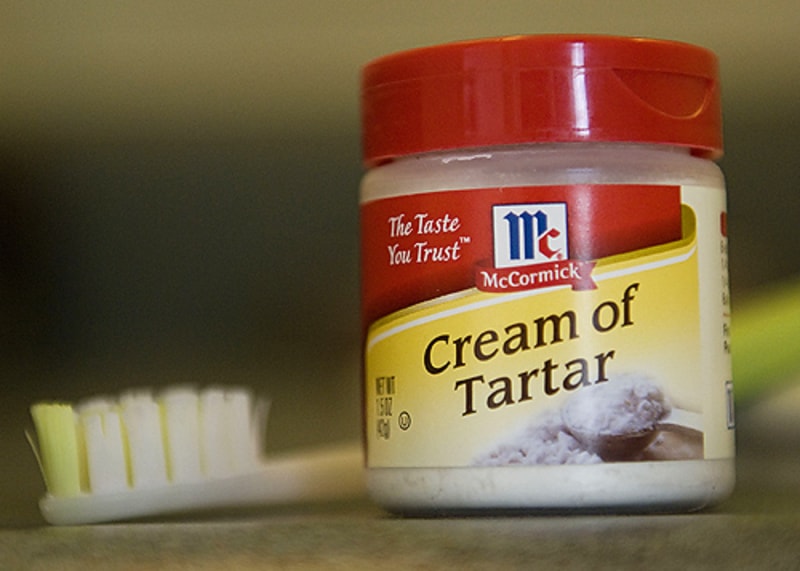
All this time I’ve been using an ingredient called cream of tartar for my meringue and for adding more puff to my puff pastries when I could’ve been using it for much more. I had a cleaning machine in the palm of my hands tossing into my egg whites when I could be using it to clean my house. You read correctly – cream of tartar to clean your home.
Here are five effect ways to benefit from the cream of tartar in your home cleaning routines.
Cleaning a drain – here’s what you will need to get going – 1/4 cup of the cream of tartar, 1 cup of baking soda, and lastly 1 cup of salt. Pour your mixture down the drain like Drano. You will then pour 2 cups of hot water to help flush out the drain along with the mixture. A little drain detox.
Restoring Burnt on Stains from Frying Pans
Do a 1:1 ratio with the cream of tartar and baking soda and just adjust to your needs, but keep it equal in the measurements. Add some liquid dish soap; a couple of drops should suffice and mix well. Pour the mixture on top of the burnt layer and then add hot water and let it settle for a few minutes. After a few minutes has passed get out a scrub brush and end that awful burnt on appearance.
Dirty Pennie No More
Make your copper materials look new again with the cream of tartar. All you need is two tablespoons of this powerful ingredient followed by one tablespoon of lemon juice and rub it on the copper then rinse – wow! The things that we ingest that can be so powerful on house cleaning.
Stains of Coffee and Tea Mugs
We all love a good cup of tea and coffee, but unfortunately, our mugs would like to bask in the flavors a bit longer in the form of stains. However mixing baking soda, lemon juice, and of course, some cream of tartar to form a paste will rid you of those coffee and tea stains.
Kitchen Appliances
Using a microfiber cloth, hot water, and the cream of tartar will help make removing stains and grease a breeze.
Page 1 of 2
———-Advertisement———-
